Introduction
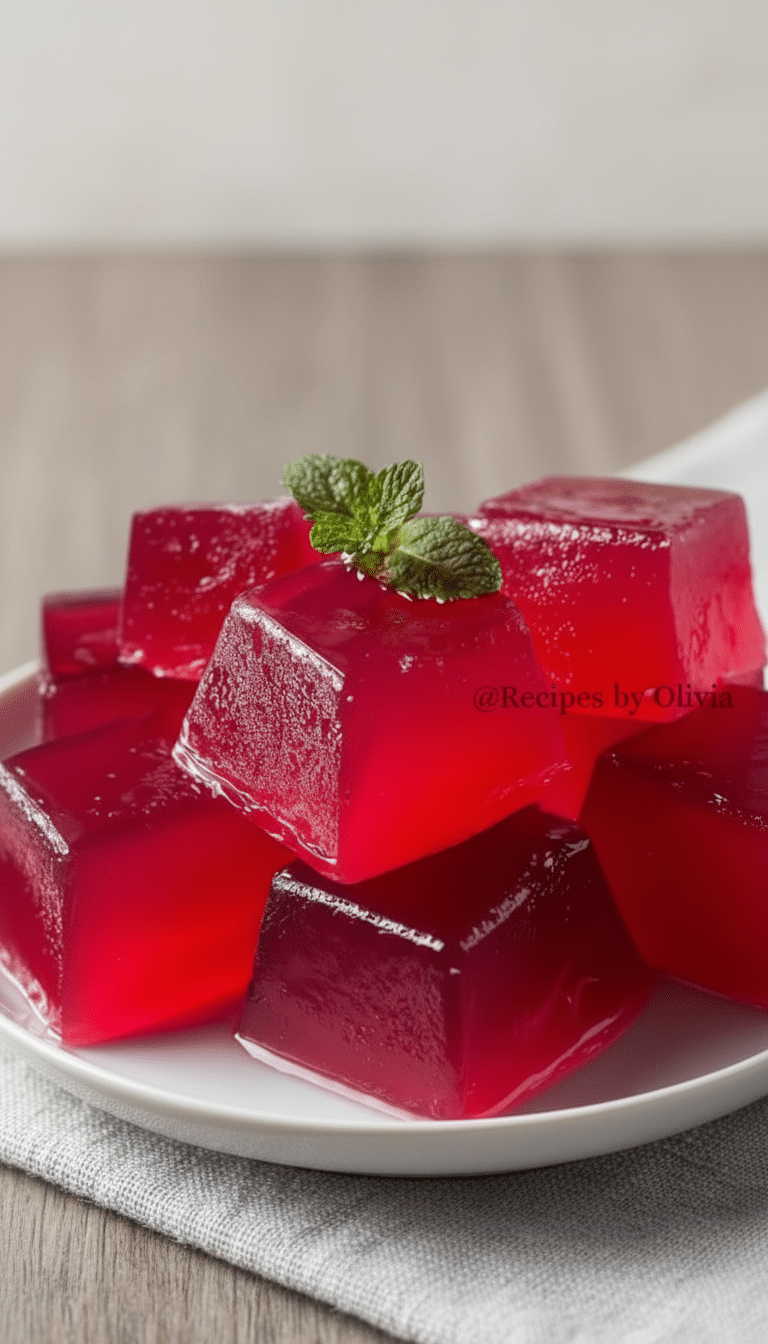
There’s something magical about creating a simple yet delightful treat that brings back memories of childhood or inspires new traditions. This chia jelly recipe is one of those gems—effortless, nutritious, and bursting with flavor. Whether you’re reminiscing about lazy summer afternoons or looking for a healthy snack to share with your family, this recipe is sure to become a favorite. Growing up, I remember my grandmother always had a jar of something fruity in the fridge, and this chia jelly reminds me of those comforting moments. Let’s dive into how you can make this versatile and delicious treat at home!

Discover more with our matcha jelly recipe.
Ingredients
Here’s what you’ll need to make this easy chia jelly recipe:
Looking for something similar? Try our kanten jelly recipe.
- 1 cup fruit juice or purée (100% juice, sugar added)
- 2 tablespoons chia seeds
- ½ tablespoon honey or maple syrup (optional)
Recommended Tools You’ll Need
Cook Time
| Prep Time | Cook Time | Setting Time | Total Time |
|---|---|---|---|
| 5 minutes | 0 minutes | 4 hours | 4 hours 5 minutes |
This recipe requires minimal prep and no cooking—just a bit of patience while it sets in the fridge.
You may also enjoy our manuka honey recipes.
Nutrition Information
| Serving Size | Calories | Sugar | Fiber |
|---|---|---|---|
| 1 serving | ~60 kcal | ~6g | ~5g |
Packed with fiber and natural sweetness, this chia jelly is a guilt-free treat.
Discover more with our himalayan pink salt weight loss recipe.
How to Make chia jelly recipe
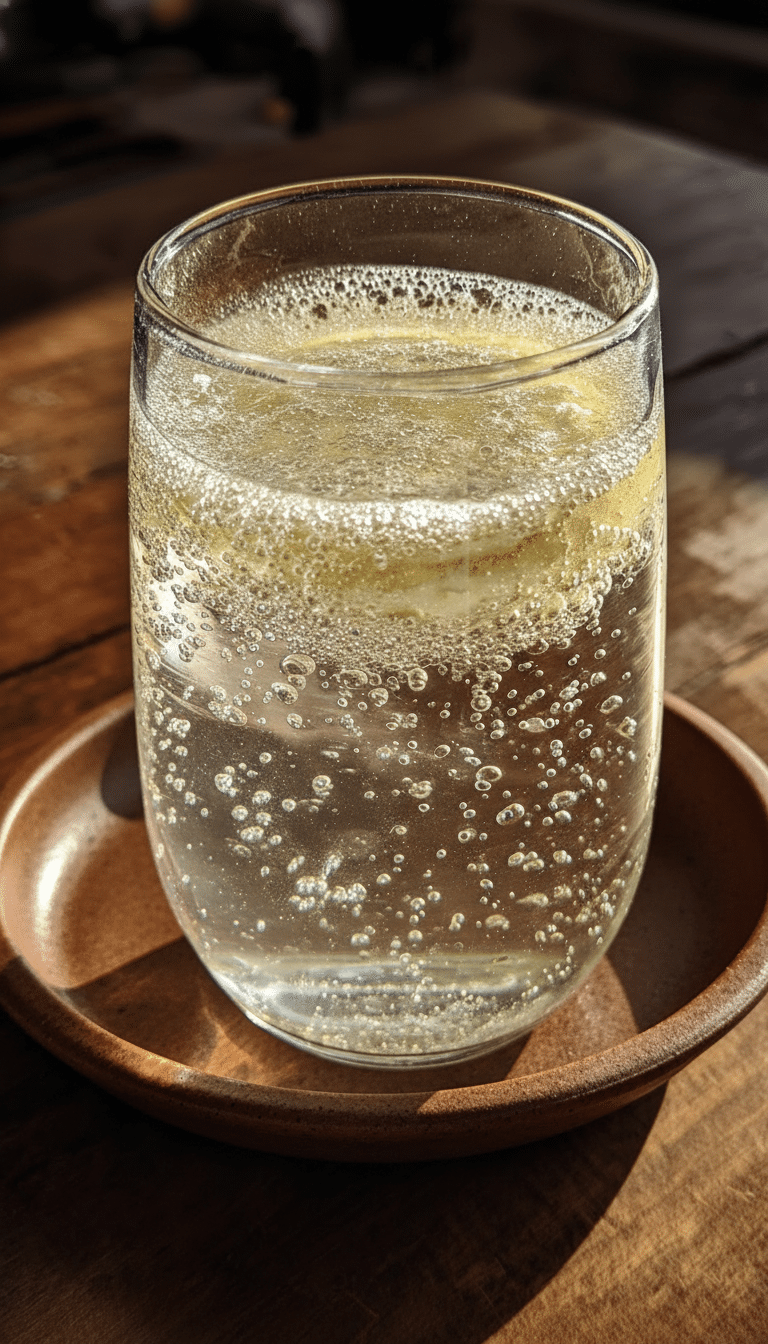
- Using a liquid measuring cup, measure out 1 cup of fruit juice or purée and pour it into a medium glass mixing bowl.
- Add 2 tablespoons of chia seeds to the mixing bowl with the fruit juice or purée. Use a wooden spoon to stir the mixture thoroughly for about 1 minute until the chia seeds are fully incorporated.
- If desired, measure ½ tablespoon of honey or maple syrup using a measuring spoon and add it to the mixture. Stir again with the wooden spoon until the sweetener is fully dissolved.
- Cover the mixing bowl with plastic wrap or a tight-fitting lid and place it in the refrigerator. Let it chill for at least 4 hours or overnight, stirring once or twice with the wooden spoon to prevent clumping.
This chia jelly recipe is incredibly simple and customizable. You can use any fruit juice or purée you love, and the optional sweetener adds just the right touch. The key is to let it set properly in the fridge so the chia seeds can absorb the liquid and create that perfect jelly-like texture.
If you enjoyed this recipe, you might also like our jillian michaels gelatin recipe.
Expert Tips
Here are a few tips to ensure your chia jelly turns out perfectly:
You may also enjoy our purple berry chia jello.
- Stir the mixture thoroughly after adding the chia seeds to prevent clumping.
- Let the jelly chill for at least 4 hours, but overnight is even better for a firmer texture.
- Use 100% fruit juice or purée without added sugar for a healthier treat.
- Experiment with different fruit flavors to keep things exciting!
Variations
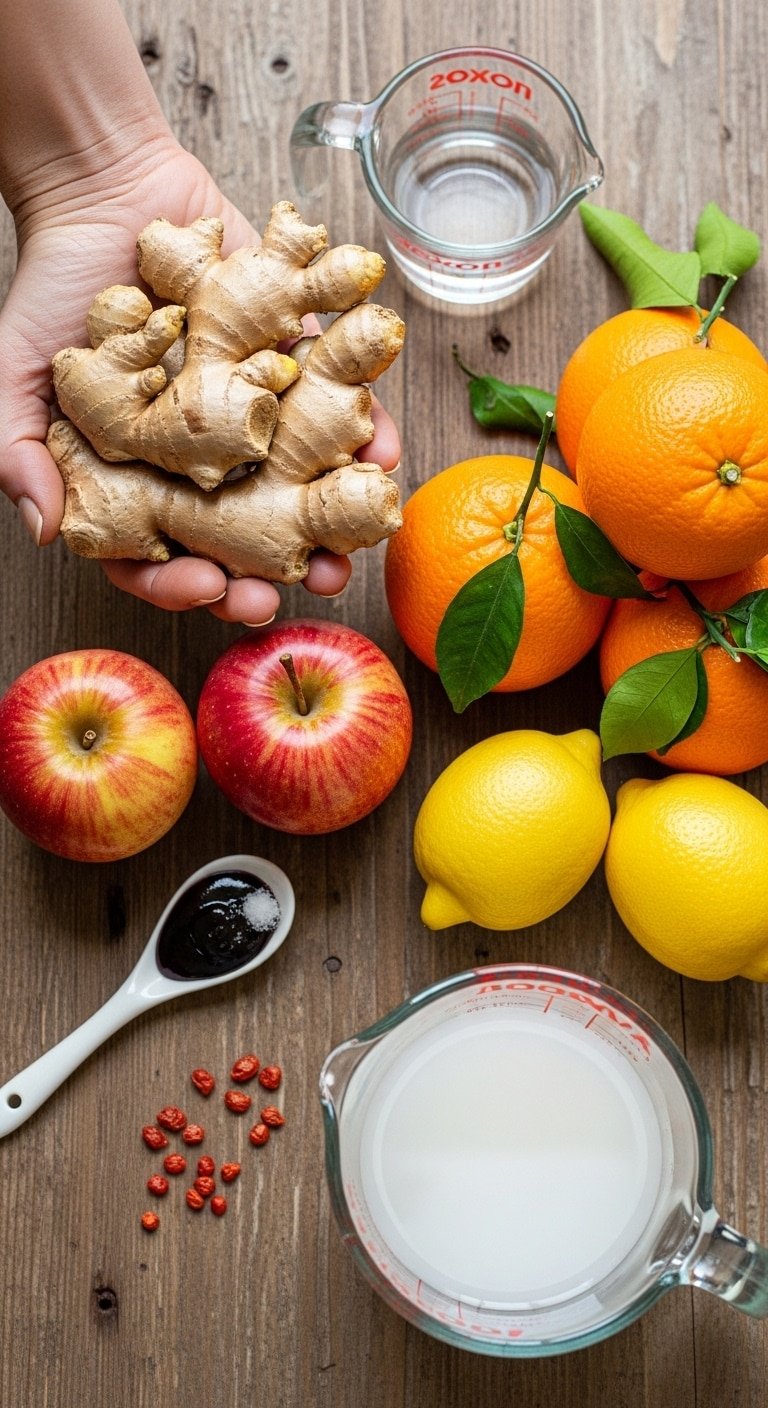
This chia jelly recipe is highly versatile. Here are a few variations to try:
If you enjoyed this recipe, you might also like our raspberry chia seed jello squares.
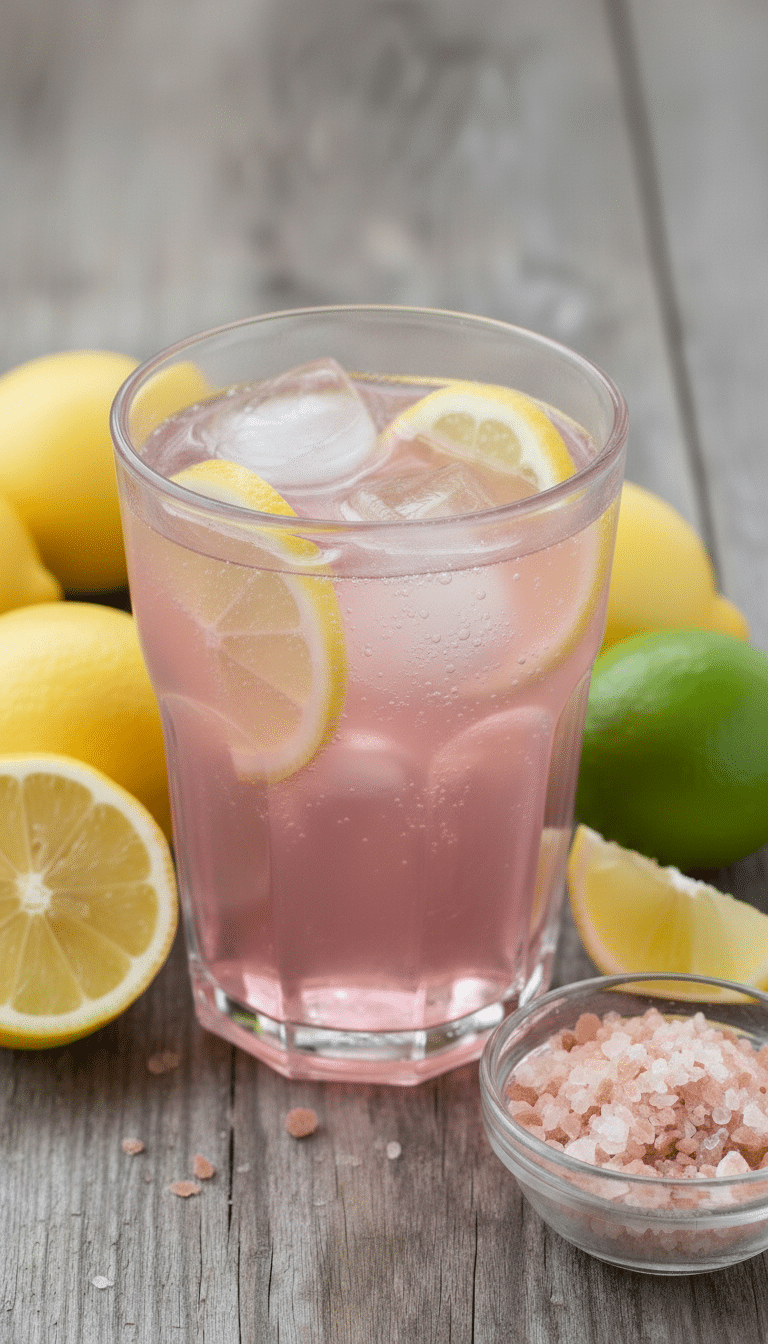
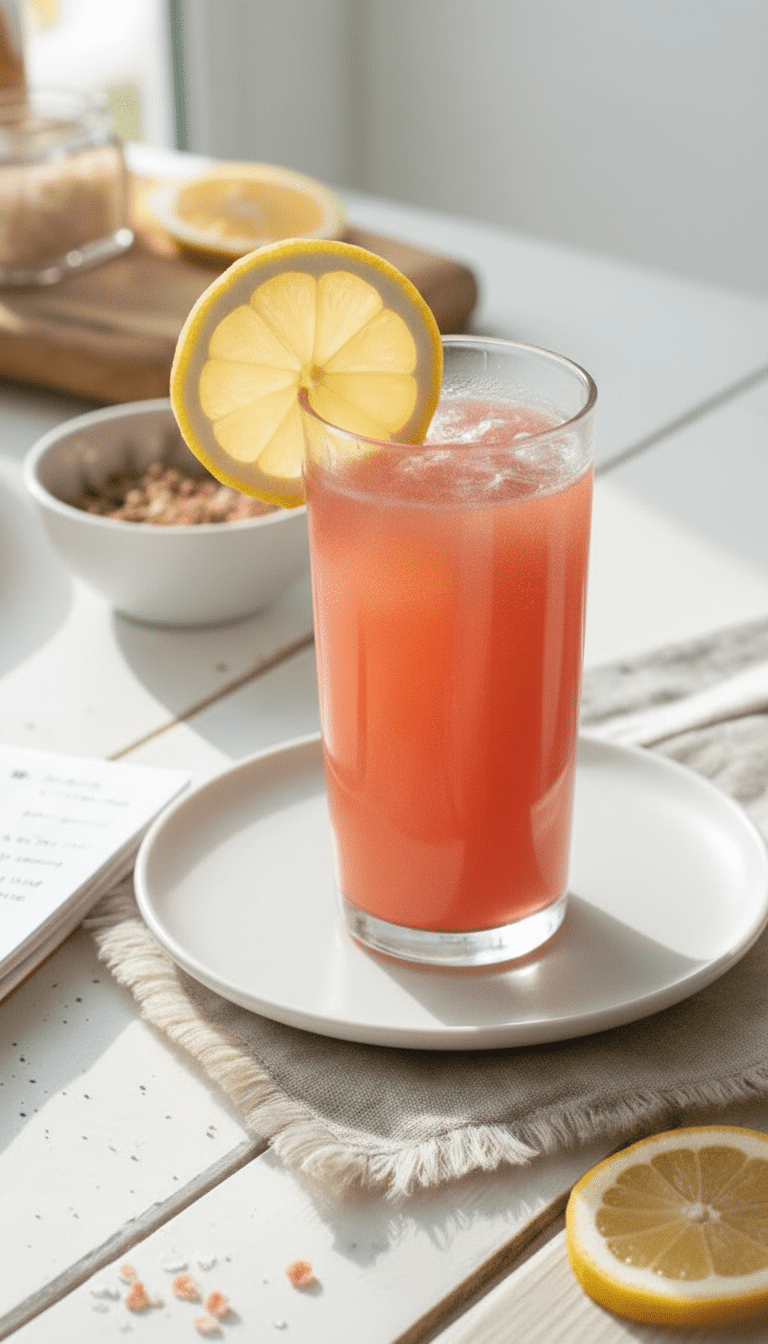
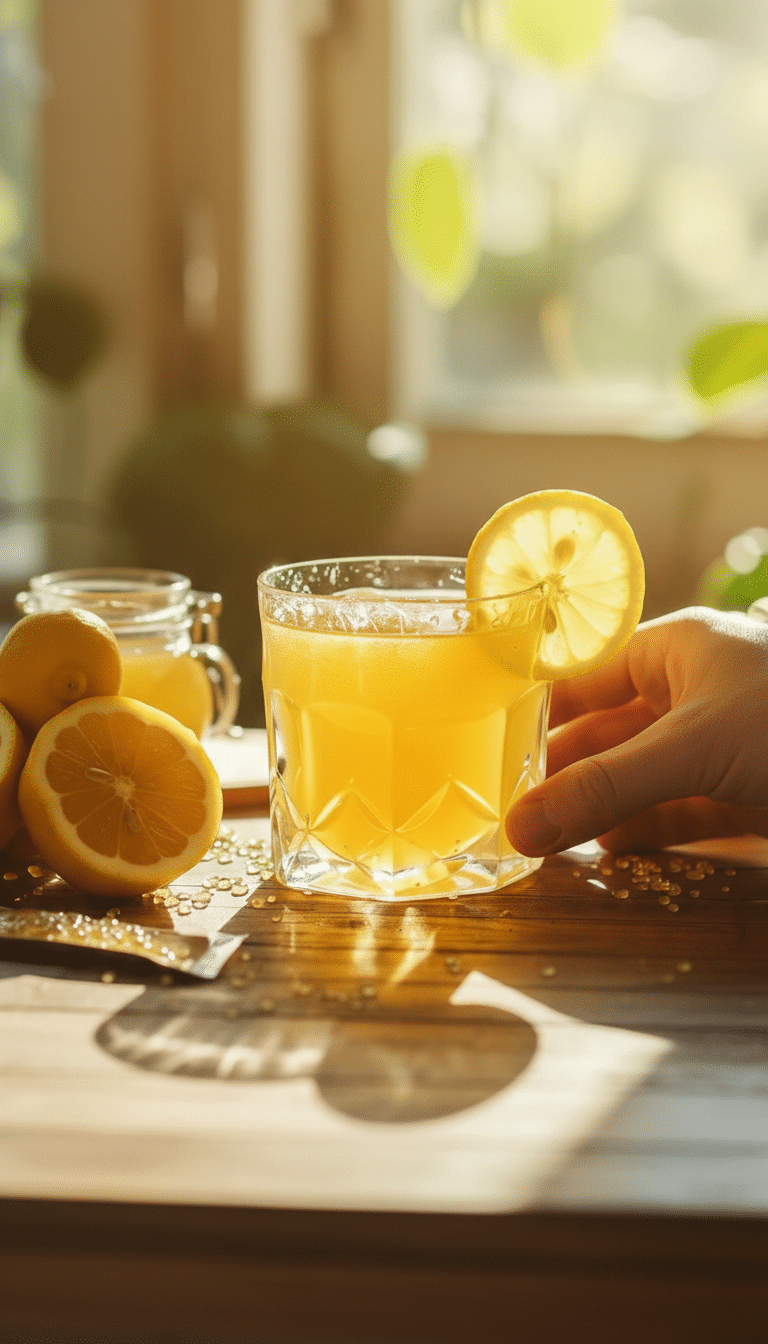
- Use coconut water instead of fruit juice for a hydrating twist.
- Add fresh fruit chunks like strawberries or mango for extra texture.
- Mix in a splash of citrus juice like lemon or lime for a tangy kick.
Healthier Alternatives
To make this recipe even healthier, consider these swaps:
Discover more with our collagen gelatin recipe.
- Skip the optional sweetener if your fruit juice is naturally sweet.
- Use unsweetened almond milk or oat milk instead of fruit juice for a creamy version.
- Add a pinch of cinnamon or vanilla extract for extra flavor without added sugar.
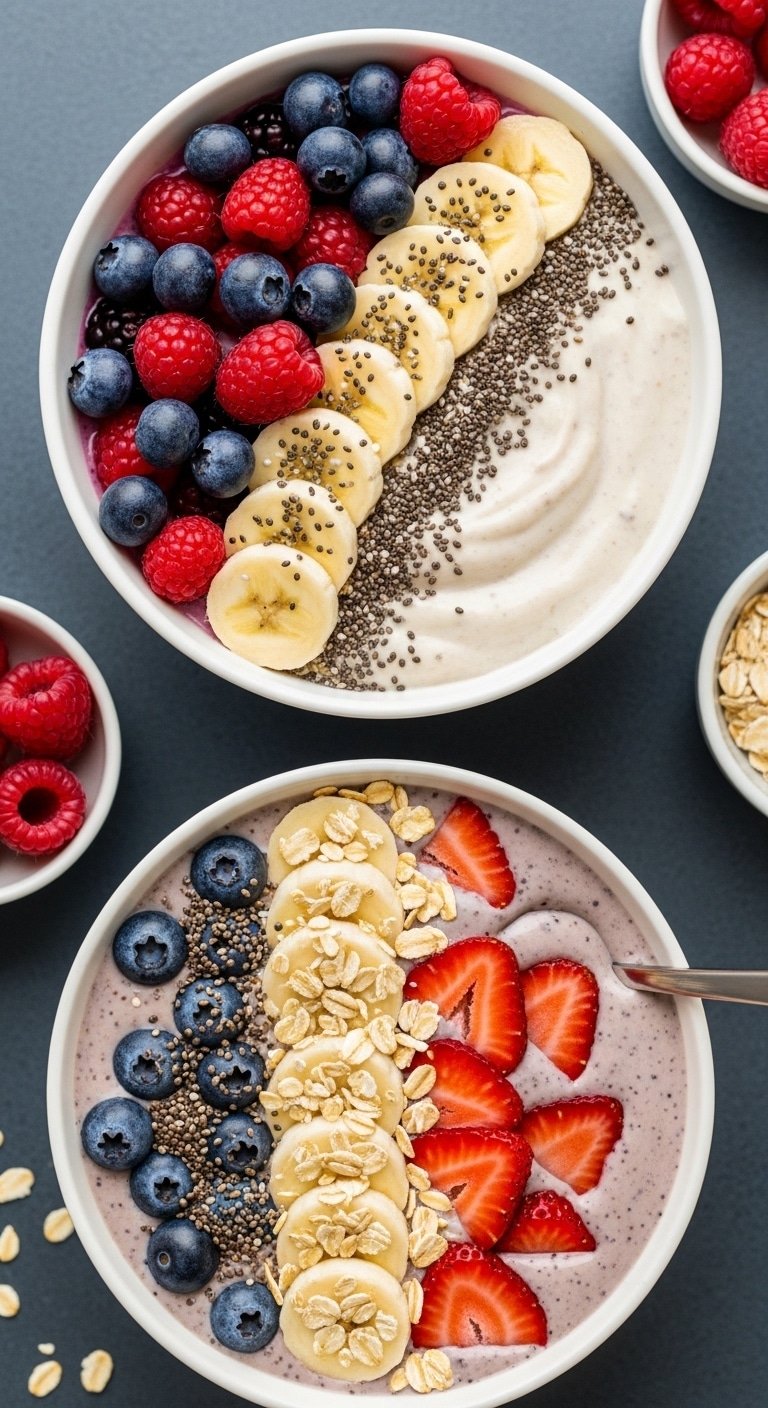
Serving Suggestions
This chia jelly is perfect on its own, but here are some fun ways to serve it:
Looking for something similar? Try our chocolate chia pudding with yogurt 2.
- Layer it with yogurt and granola for a parfait.
- Spread it on toast or pancakes for a fruity twist.
- Top it with fresh berries and a drizzle of honey for an elegant dessert.
Storage Instructions
Store your chia jelly in an airtight container in the refrigerator for up to 5 days. Stir it before serving if it separates slightly. It’s best enjoyed fresh but holds up well for meal prep!
For more ideas, check out our guide on baja gold sea salt recipe.

Frequently Asked Questions
How do you make chia jelly at home?
Making chia jelly at home is simple and rewarding. Start by mixing chia seeds with your choice of liquid, such as water, juice, or milk, in a 1:4 ratio. Let the mixture sit for at least 30 minutes, stirring occasionally, until it thickens. Add natural sweeteners or fruits for flavor. Refrigerate for a few hours to set, and enjoy! This easy process allows you to customize your chia jelly to match your taste preferences.
What are the health benefits of chia jelly?
Chia jelly is packed with nutrients that support overall health. Chia seeds are rich in omega-3 fatty acids, fiber, and protein, which aid digestion and promote heart health. They also contain antioxidants that combat inflammation. When turned into jelly, chia seeds retain these benefits, making it a guilt-free treat. Plus, it’s a great way to stay hydrated and energized throughout the day, especially when paired with fresh fruits or natural sweeteners.
Can chia jelly be made without sugar?
Absolutely! Chia jelly can be made without sugar by using natural alternatives like honey, maple syrup, or mashed ripe bananas. Alternatively, you can rely on the natural sweetness of fruits like berries, mangoes, or peaches. This makes it a healthier option for those looking to reduce sugar intake while still enjoying a delicious and nutritious treat. Experiment with different combinations to find your perfect sugar-free chia jelly recipe.
Can chia jelly be made with almond milk?
Yes, almond milk is an excellent base for chia jelly, especially for those who prefer a dairy-free or vegan option. Simply replace water or regular milk with almond milk and follow the same steps. The nutty flavor of almond milk pairs beautifully with chia seeds and complements fruits like strawberries or blueberries. This variation adds a creamy texture and a unique taste, making it a versatile choice for any dietary preference.
How long does chia jelly last in the fridge?
Chia jelly can last up to 5 days in the fridge when stored in an airtight container. Its shelf life depends on the ingredients used; for example, fresh fruits may reduce its longevity. To ensure freshness, avoid adding toppings or mix-ins until you’re ready to serve. This makes chia jelly a convenient make-ahead snack or dessert that stays fresh and delicious for several days, perfect for busy schedules.
Conclusion
This chia jelly recipe is a delightful blend of simplicity, nutrition, and flavor. Whether you’re looking for a healthy snack, a vegan dessert, or a way to incorporate more superfoods into your diet, this recipe has you covered. Its versatility allows you to experiment with different liquids, sweeteners, and fruits, making it a staple in your kitchen. I love how this recipe reminds me of cozy mornings and the joy of creating something nourishing. Give it a try—it’s a treat that’s as good for your body as it is for your soul!

Learn how to make a simple Chia Jelly Recipe with just a few ingredients. Perfect for a healthy dessert or snack.
Ingredients
- 1 cup fruit juice or purée (100% juice, no sugar added)
- 2 tablespoons chia seeds
- ½ tablespoon honey or maple syrup (optional)
Instructions
- Using a liquid measuring cup, measure out 1 cup of fruit juice or purée and pour it into a medium glass mixing bowl.
- Add 2 tablespoons of chia seeds to the mixing bowl with the fruit juice or purée. Use a wooden spoon to stir the mixture thoroughly for about 1 minute until the chia seeds are fully incorporated.
- If desired, measure ½ tablespoon of honey or maple syrup using a measuring spoon and add it to the mixture. Stir again with the wooden spoon until the sweetener is fully dissolved.
- Cover the mixing bowl with plastic wrap or a tight-fitting lid and place it in the refrigerator. Let it chill for at least 4 hours or overnight, stirring once or twice with the wooden spoon to prevent clumping.
Nutrition Information
Per serving
337
43g
10g
19g
17g
271mg