Introduction
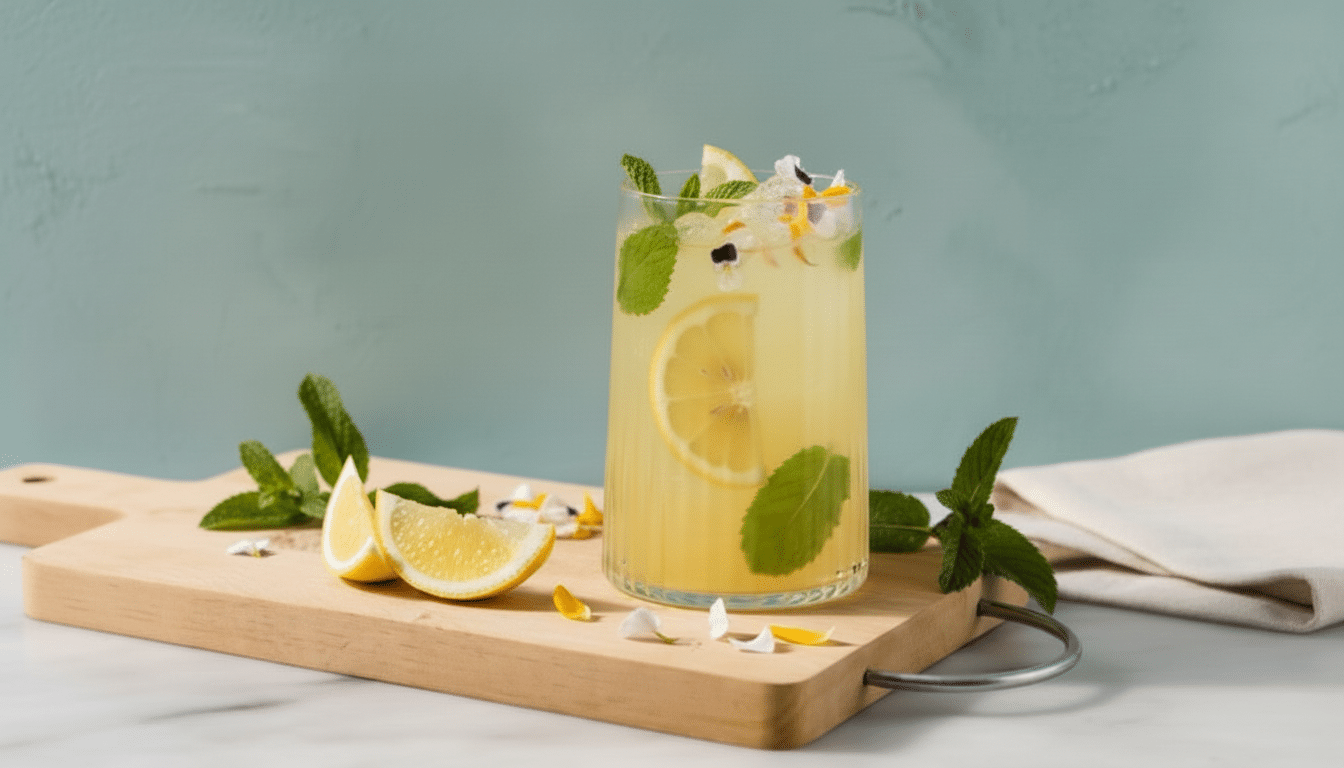
There’s something incredibly refreshing about a homemade electrolyte drink—simple, natural, and packed with just what your body needs. Whether you’re recovering from a workout, battling a hot summer day, just craving a healthier alternative to store-bought sports drinks, this recipe is a game-changer. Made with just four wholesome ingredients—water, lemon, sea salt, and honey—it’s a nostalgic nod to the days when hydration was as simple as mixing what nature provided. I remember my grandmother stirring up a similar concoction after long afternoons in the garden, tradition that always left me feeling revitalized. Let’s bring that same wholesome goodness into your kitchen today.

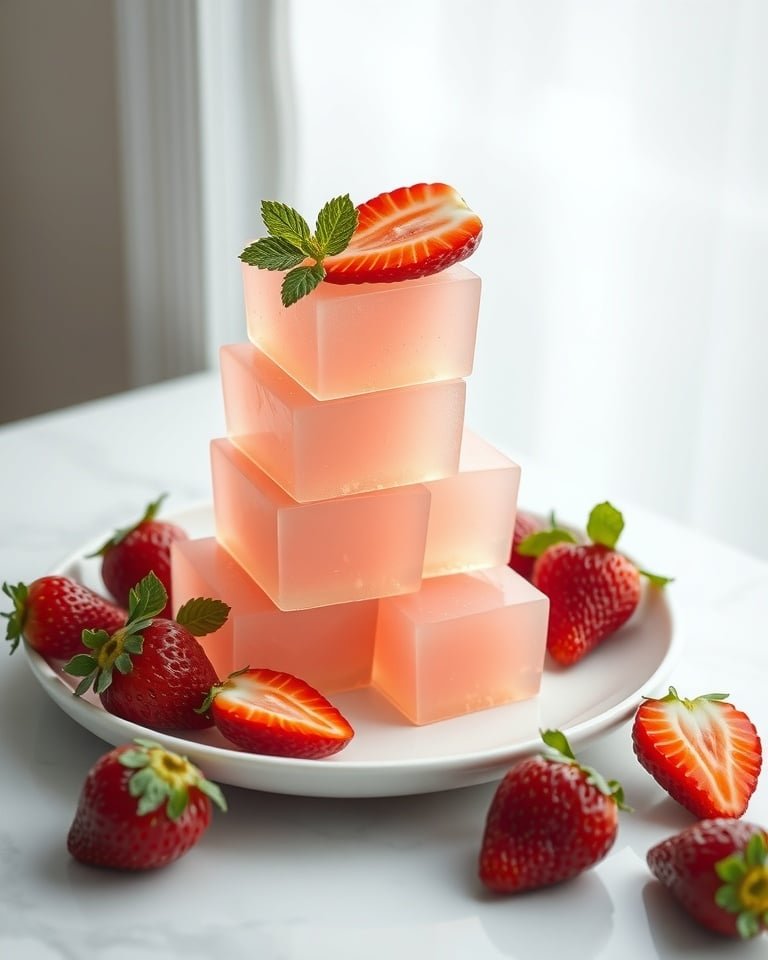
Looking for something similar? Try our homemade mounjaro drink with pink salt.
Ingredients
This homemade electrolyte drink keeps it simple with just four key ingredients:
See also: zepbound drink recipe for weight loss.
- Water
- Lemon
- Sea salt
- Honey
Recommended Tools You’ll Need
Cook Time
| Prep Time | Cook Time | Setting Time | Total Time |
|---|---|---|---|
| 5 minutes | 5 minutes | 0 hours | 10 minutes |
This quick and easy recipe takes just 10 minutes from start to finish—perfect for when you need hydration fast.
You may also enjoy our citrus fire morning drink.
Nutrition Information
| Serving Size | Calories | Sugar | Fiber |
|---|---|---|---|
| 1 serving | ~30 kcal | ~7g | ~0g |
This drink is low in calories and provides natural sugars from honey, making it a healthier alternative to commercial sports drinks.
For more ideas, check out our guide on pre meal basic gelatin drink.
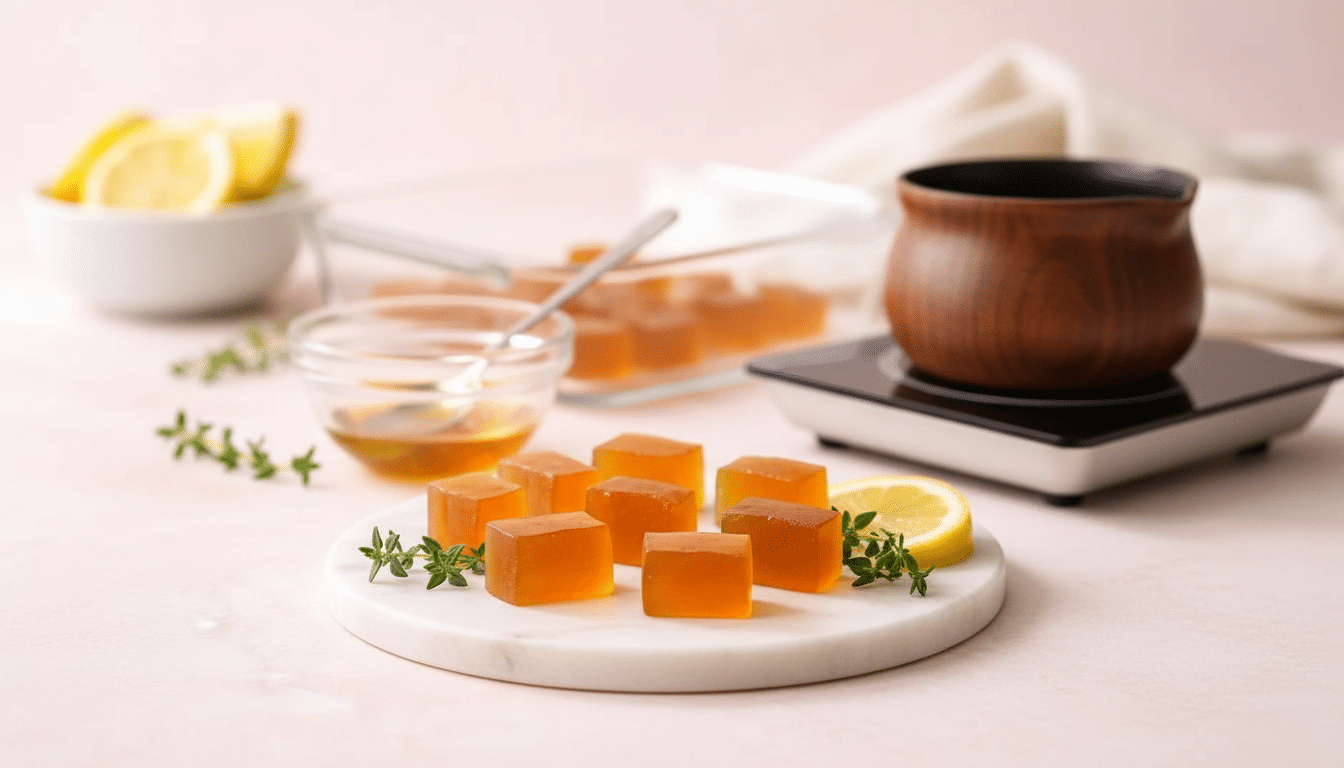
How to Make homemade electrolyte drink
- Using a sharp chef’s knife on a sturdy cutting board, slice the lemon in half. Squeeze each half using a citrus juicer into a small glass bowl to extract the juice, removing any seeds with a spoon.
- In a medium saucepan, pour 2 cups of water and heat over medium heat on the stove. Use a digital thermometer to ensure the water reaches a warm temperature, around 110°F (43°C).
- Add 1 teaspoon of sea salt and 2 tablespoons of honey to the warm water in the saucepan. Use a wooden spoon to stir the mixture gently until the salt and honey are fully dissolved.
- Pour the lemon juice from the small glass bowl into the saucepan with the water mixture. Continue stirring with the wooden spoon for about 30 seconds to combine all ingredients evenly.
- Transfer the mixture to a heatproof pitcher or jar using a silicone spatula to ensure all liquid is captured. Allow it to cool slightly before serving.
This homemade electrolyte drink incredibly easy to make, and the gentle warmth helps dissolve the honey and salt perfectly. The lemon adds a bright, refreshing flavor, while the honey provides natural sweetness. The sea salt replenishes essential electrolytes, making this drink ideal for post-workout recovery or hot summer days. For best results, serve slightly chilled or over ice.
You may also enjoy our apple cider lemon gelatin drink.
Expert Tips
- Use fresh lemon juice for the best flavor—bottled juice can taste artificial.
- Adjust sweetness to taste—start with 1 tablespoon of honey and add more if needed.
- Chill before serving for a more refreshing experience, especially on hot days.
- Use filtered water ensure the cleanest, purest taste.
Variations
- Citrus Twist: Swap lemon for lime or orange juice for a different flavor profile.
- Herbal Infusion: Add a few fresh mint or basil leaves for an aromatic twist.
- Spiced Version: Stir in a pinch of ground ginger or turmeric for added warmth and health benefits.
Healthier Alternatives
- Reduce sugar: Use half the honey or substitute with stevia for a lower-calorie option.
- Boost minerals: Add a pinch of cream of tartar for extra potassium.
- Coconut water base: Replace half the water with coconut water for added electrolytes.
Serving Suggestions
Serve this homemade electrolyte drink chilled over ice for maximum refreshment. It pairs perfectly with post-workout snacks like a banana or a handful of nuts. For a fun twist, garnish with a lemon slice or a sprig of fresh mint. It’s also great alongside light meals like salads or grilled chicken.
You may also enjoy our indonesian turmeric ginger drink.
Storage Instructions
Store any leftover drink in a sealed glass jar or pitcher in the refrigerator for up to 3 days. Shake or stir before serving, natural separation may occur. For best flavor, consume within 24 hours. Avoid freezing, this can alter the texture and taste.
Discover more with our golden turmeric lime drink for daily balance.

Frequently Asked Questions
What are the benefits of a homemade electrolyte drink?
A homemade electrolyte drink offers natural hydration without artificial additives, sugars, or preservatives found in store-bought options. It replenishes essential minerals like sodium, potassium, and magnesium lost through sweat, making it perfect for workouts, illness, or hot days. Customizing ingredients allows you to tailor the drink to your dietary needs, whether low-sugar or allergy-friendly. Plus, it’s cost-effective and easy to whip up with pantry staples.
How do you make a homemade electrolyte drink?
Making a homemade electrolyte drink is simple! Start with a base of water or coconut water, then add a pinch of salt for sodium and a sweetener like honey or maple syrup for energy. Squeeze in citrus juice (lemon, lime, or orange) for potassium and flavor. For extra minerals, a dash of magnesium powder or a splash of unsweetened fruit juice works wonders. Stir well, chill, and enjoy—it’s ready in minutes!
Can I customize flavors in a homemade electrolyte drink?
Absolutely! Homemade electrolyte drinks are incredibly versatile. Try adding fresh herbs like mint or basil for a refreshing twist, or muddle berries for natural sweetness. Ginger or turmeric adds a spicy kick, while cucumber slices lend a cool, crisp flavor. Experiment with different citrus combinations or even a splash of vanilla extract. The possibilities are endless, making it easy to suit your taste buds or mood.
Is a homemade electrolyte drink better than store-bought?
Homemade electrolyte drinks often outperform store-bought versions because you control the ingredients, avoiding artificial colors, excessive sugars, and synthetic additives. They’re fresher, more natural, and can be adjusted for dietary preferences. While commercial drinks are convenient, homemade versions are cost-effective and free from hidden preservatives. For those prioritizing clean eating or specific health goals, DIY is the way to go.
How long does a homemade electrolyte drink last?
A homemade electrolyte drink stays fresh for up to 3 days when stored in a sealed container in the refrigerator. Without preservatives, it’s best consumed within 48 hours for optimal flavor and potency. Shake or stir before serving, as natural ingredients may settle. For longer storage, freeze portions in ice cube trays and thaw as needed. Always check for off smells or flavors before drinking.
Conclusion
Whipping up a homemade electrolyte drink is a game-changer for staying hydrated naturally. With simple ingredients like coconut water, citrus, and a pinch of salt, you can create a refreshing, healthier alternative to store-bought options. This recipe is special to me because it reminds me of summers spent playing outside, and my mom always had a pitcher ready for us. Give it a try—it’s easy, customizable, and perfect for active families or anyone craving a wholesome sip!
Learn how to make a Homemade Electrolyte Drink with simple ingredients for natural hydration and replenishment after workouts or daily activities.
Ingredients
- Water
- Lemon
- Sea salt
- Honey
Instructions
- Using a sharp chef’s knife on a sturdy cutting board, slice the lemon in half. Squeeze each half using a citrus juicer into a small glass bowl to extract the juice, removing any seeds with a spoon.
- In a medium saucepan, pour 2 cups of water and heat over medium heat on the stove. Use a digital thermometer to ensure the water reaches a warm temperature, around 110°F (43°C).
- Add 1 teaspoon of sea salt and 2 tablespoons of honey to the warm water in the saucepan. Use a wooden spoon to stir the mixture gently until the salt and honey are fully dissolved.
- Pour the lemon juice from the small glass bowl into the saucepan with the water mixture. Continue stirring with the wooden spoon for about 30 seconds to combine all ingredients evenly.
- Transfer the mixture to a heatproof pitcher or jar using a silicone spatula to ensure all liquid is captured. Allow it to cool slightly before serving.
Nutrition Information
Per serving
293
34g
19g
8g
8g
241mg