Garlic Parmesan Chicken Melt Recipe with Creamy Filling: Step-by-Step Instructions
Step-by-Step Instructions
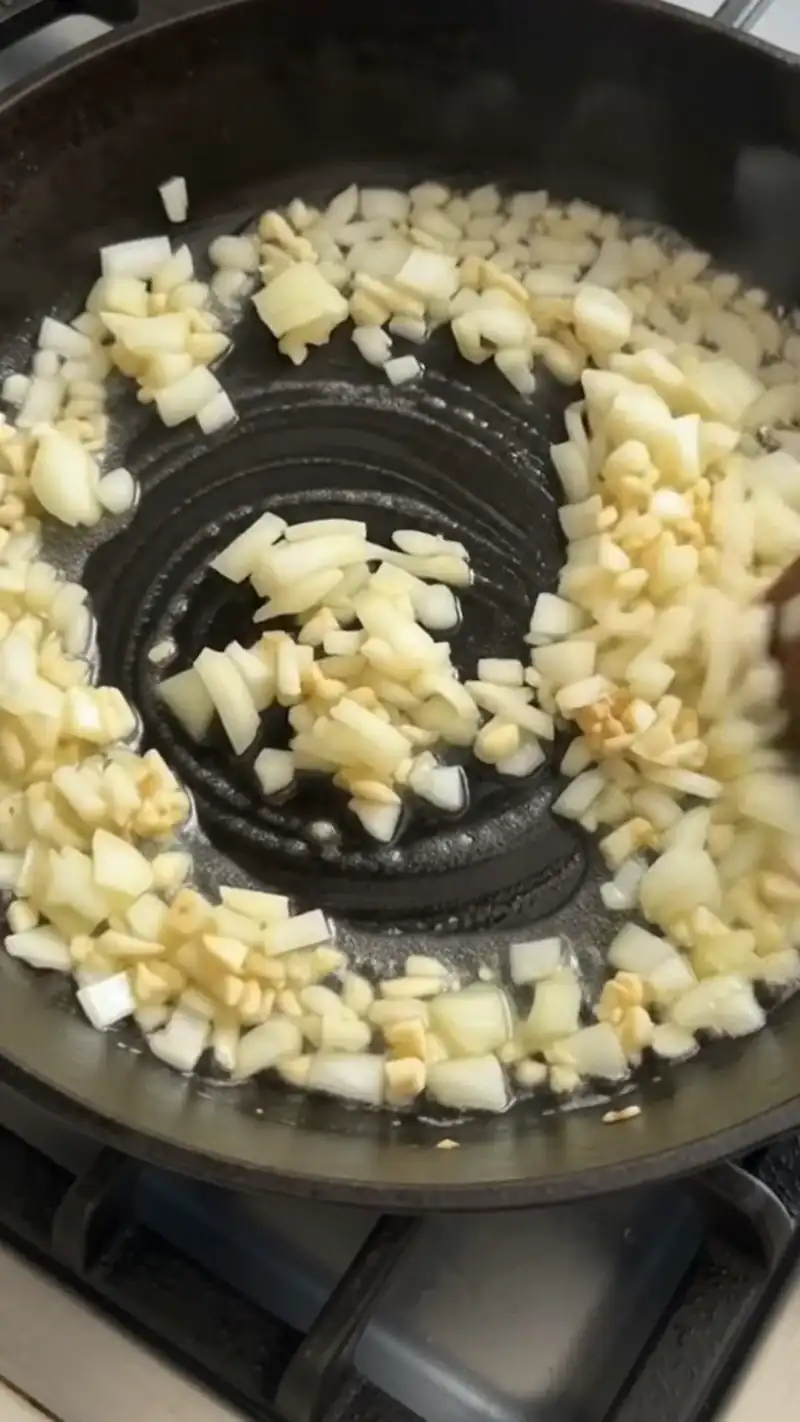
Step 1: Sauté the Onion and Fresh Garlic
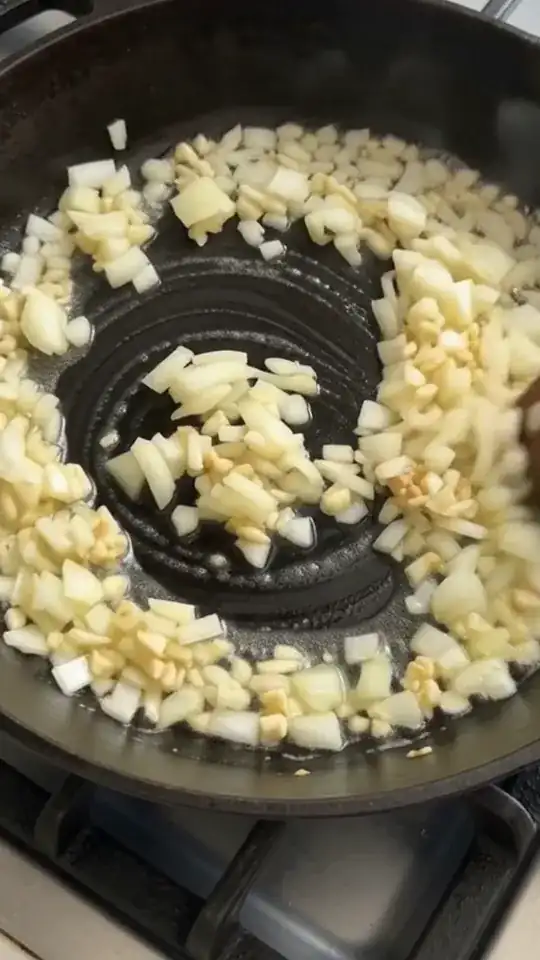
Set a large skillet over medium heat, around 350°F (175°C), and melt 2 tablespoons of butter until it bubbles gently. Add the 1/2 cup of finely chopped yellow onion and cook for 4 to 5 minutes, stirring occasionally until soft and lightly golden. Stir in 1 tablespoon of minced fresh garlic and cook for just 30 seconds until fragrant, taking care not to burn the garlic.

Step 2: Season and Warm the Shredded Chicken
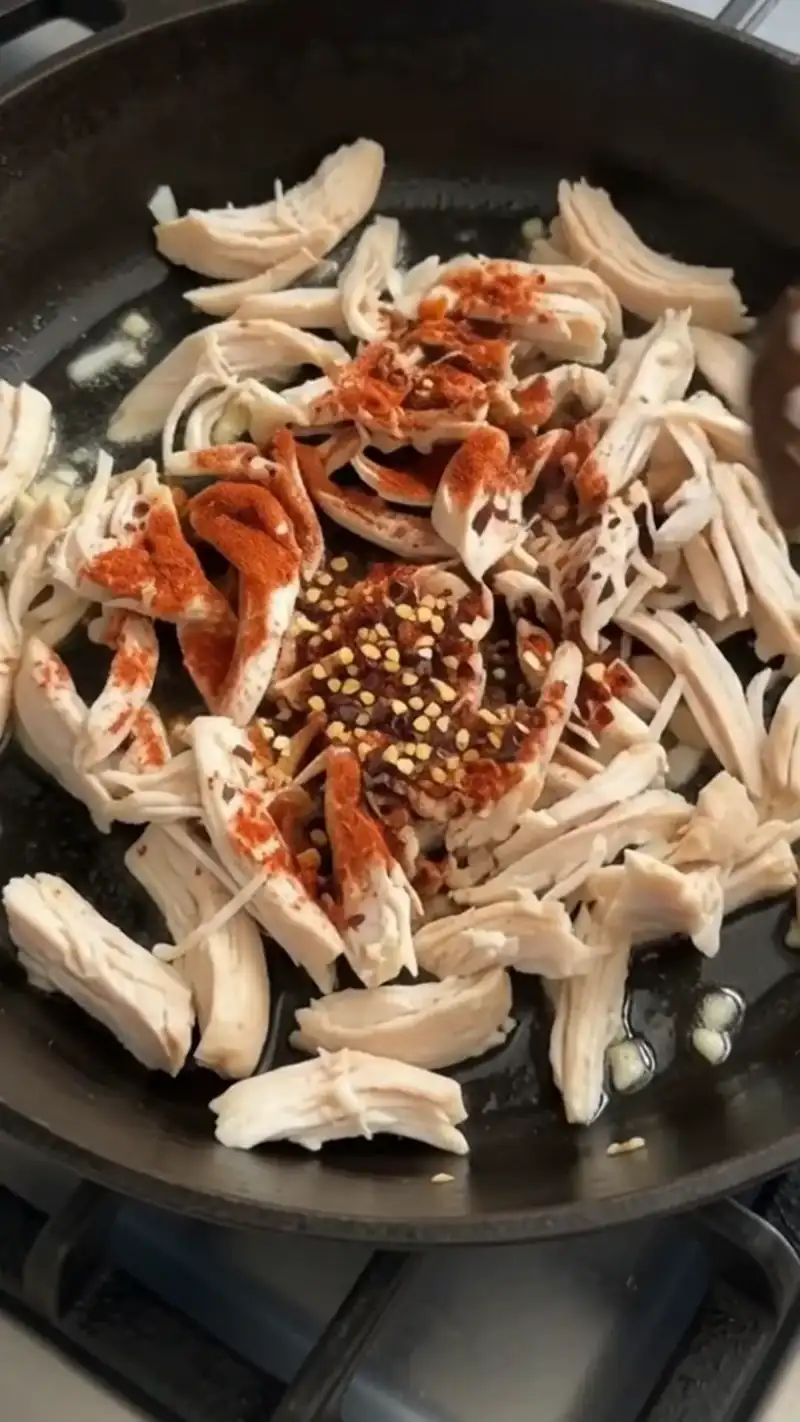
Add 2 cups of shredded rotisserie chicken directly into the skillet with the sautéed onions and garlic. Season the chicken evenly with 1 teaspoon of garlic powder, 1/2 teaspoon of black pepper powder, 1 teaspoon of paprika powder, and 1 teaspoon of red chili flakes. Stir well for about 2 minutes over medium heat until the aromatic seasonings thoroughly coat the warmed chicken.
Step 3: Create the Creamy Parmesan Sauce Base
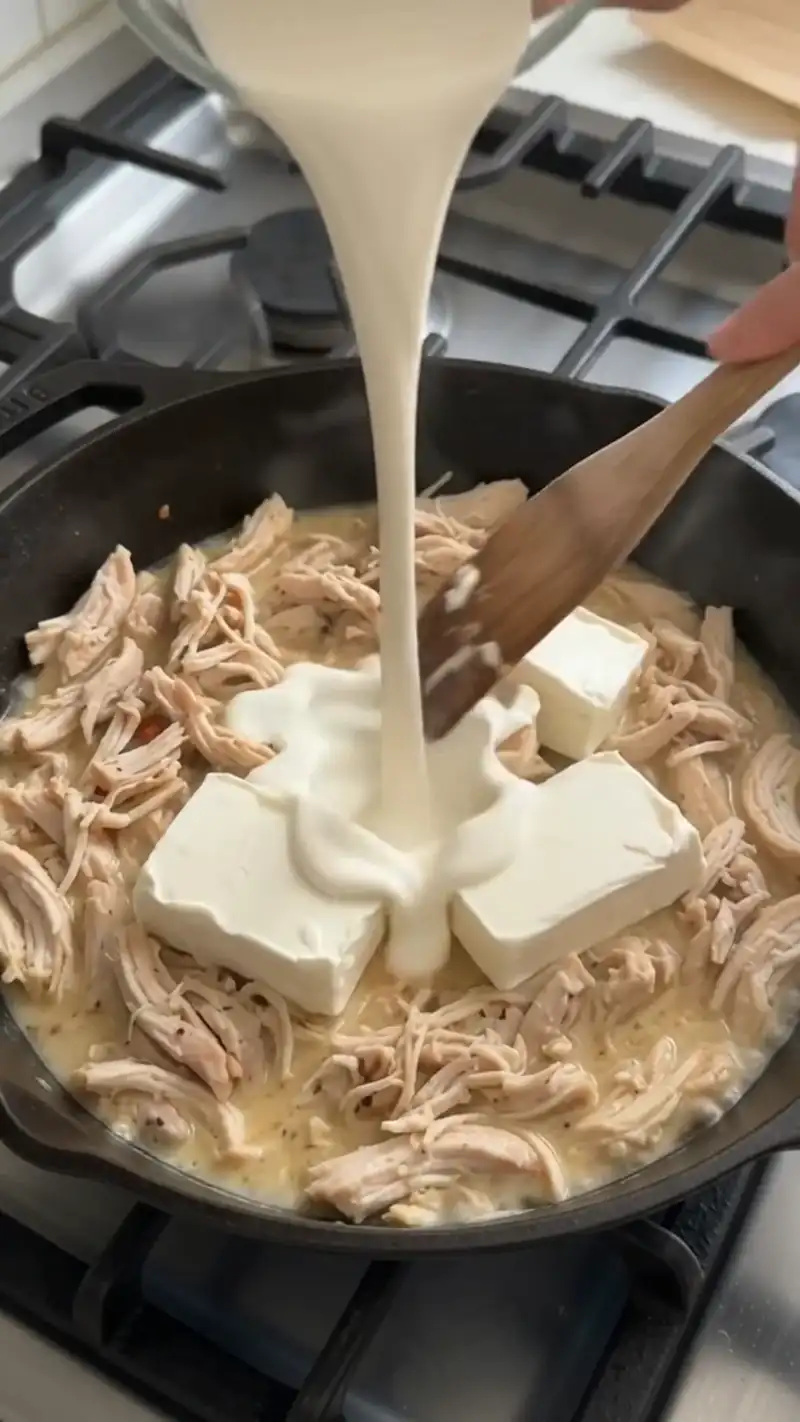
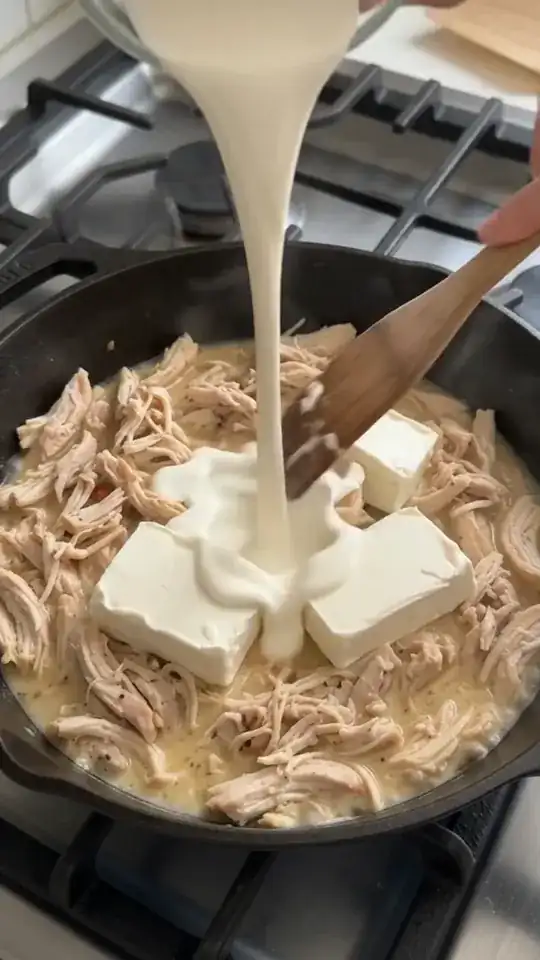
Reduce the stove heat to low, around 275°F (135°C). Add 5 tablespoons of softened cream cheese and 1/4 cup of unsweetened heavy whipping cream to the chicken. Stir continuously until the cheese completely melts and forms a smooth, rich coating. Fold in 1/4 cup of freshly grated Parmesan cheese. If the sauce feels overly thick, stir in extra heavy cream one teaspoon at a time.
Step 4: Add Fresh Herbs and Adjust Seasoning
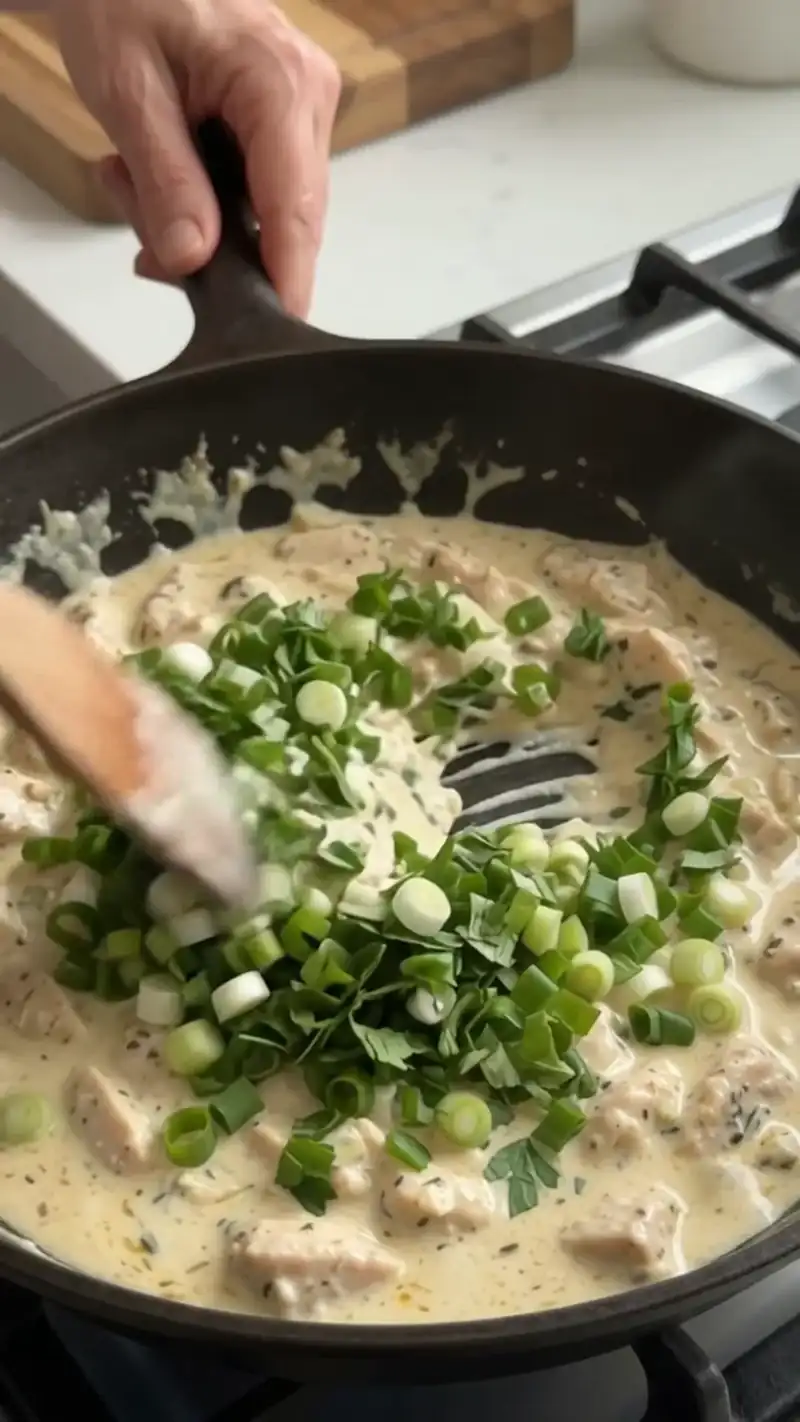
Stir 1/4 cup of chopped green onion and 1 tablespoon of fresh chopped parsley into the creamy chicken filling until evenly distributed. Taste the warm mixture carefully before adding salt, as rotisserie chicken and Parmesan cheese already contain natural saltiness. The final filling consistency should be thick, creamy, and rich rather than runny, ensuring it stays neatly inside the sandwich when toasted.
Step 5: Assemble the Sandwiches with Mozzarella
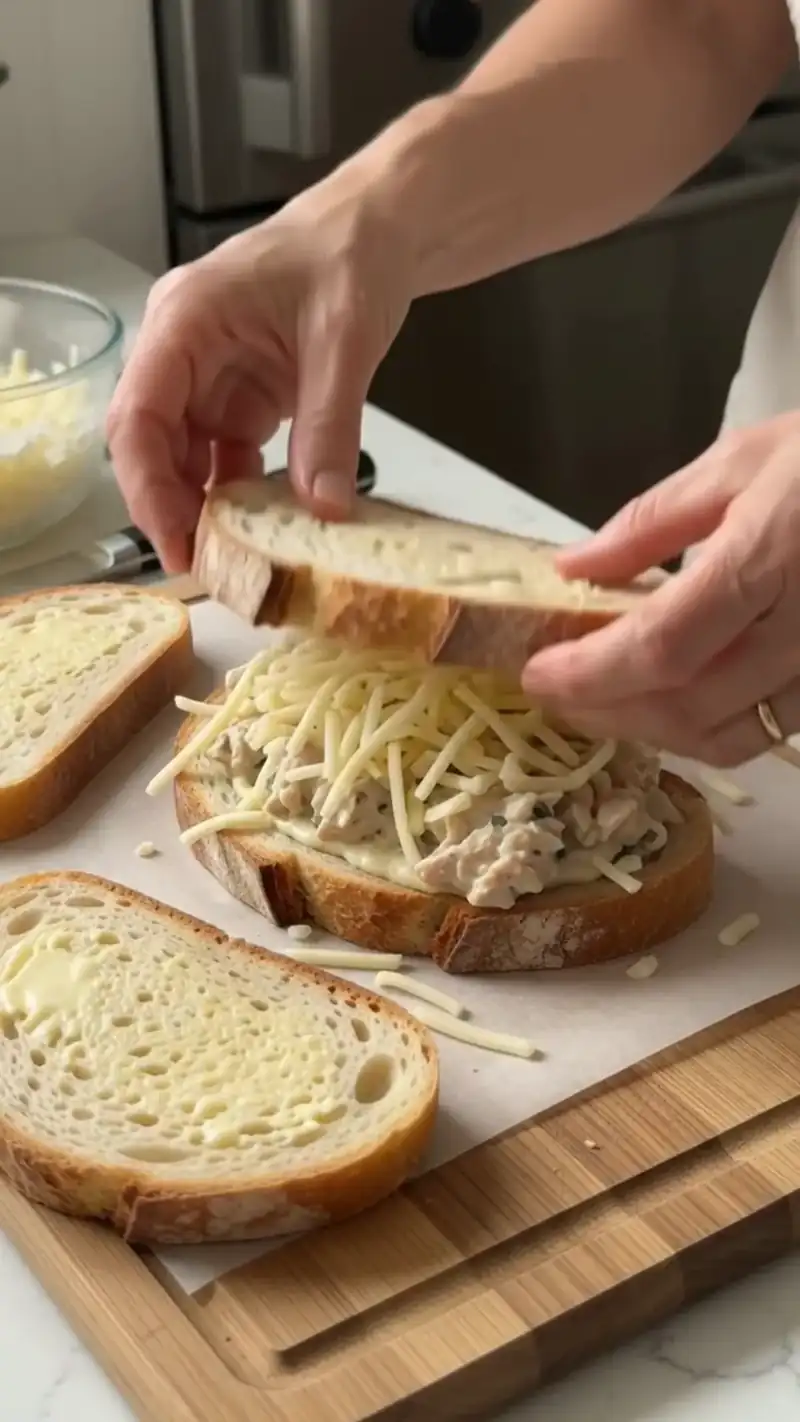
Lightly butter the outside face of all 6 bread slices. Lay 3 slices buttered-side down on a clean work surface. Sprinkle a layer of shredded mozzarella cheese across each slice, follow with a generous, equal portion of the warm garlic chicken mixture, add another layer of mozzarella, and top with the remaining bread slices, buttered-side up, dividing the filling and cheese evenly among three sandwiches.
Step 6: Pan-Toast the Sandwiches to Golden Perfection
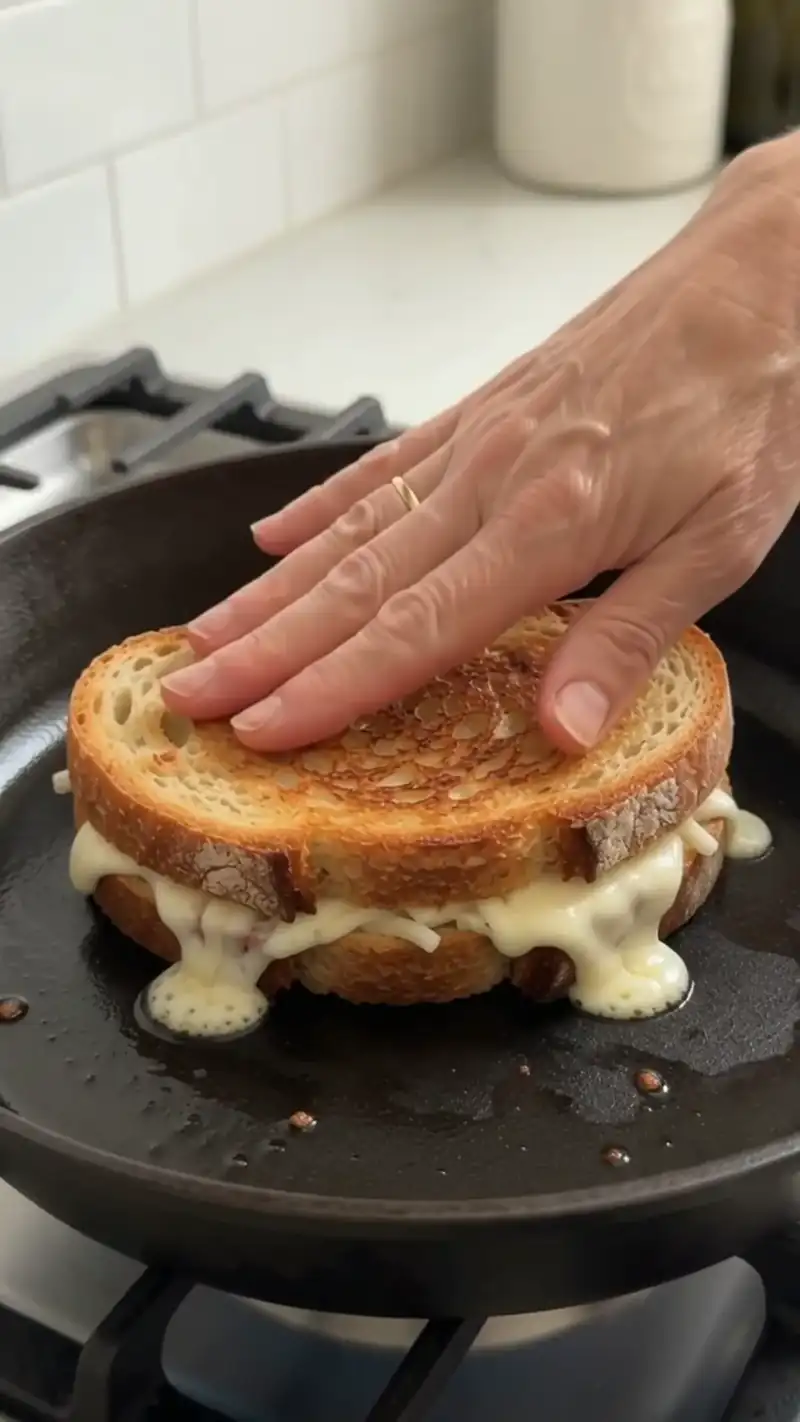
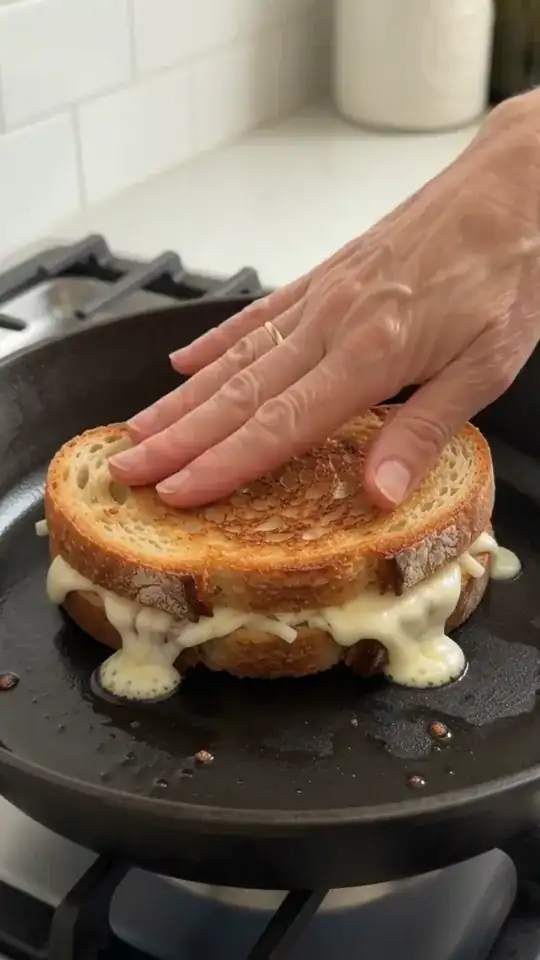
Heat a clean skillet over medium-low heat, around 300°F (150°C). Place the assembled sandwiches in the pan and cook for 3 to 4 minutes per side until the bread is deeply golden, crispy, and the mozzarella cheese is thoroughly melted. Cover the skillet briefly with a lid during cooking if needed to assist center melting, then uncover for the final minute to keep the outer crust delightfully crisp.
Step 7: Rest, Slice, and Serve Warm
Transfer the freshly toasted garlic chicken melts onto a cutting board. Allow each sandwich to rest undisturbed for about one minute; this brief pause lets the hot, gooey mozzarella set slightly so the creamy chicken filling stays neatly intact when cut. Slice diagonally in half using a sharp serrated knife and serve immediately while piping hot.
Garlic Parmesan Chicken Melt Recipe with Creamy Filling in Pictures




Expert Tips
- Use room temperature cream cheese so it blends quickly and smoothly into the warm chicken without creating lumps or requiring excess heat that could dry out the meat.
- Toast the sandwiches on medium-low heat to ensure the interior mozzarella melts completely into gooey perfection before the bread exterior gets overly dark or burnt.
- Freshly grate your Parmesan and mozzarella cheeses from blocks for superior melting performance and a much creamier texture compared to pre-shredded bag varieties.
- Choose a sturdy bread like sourdough, artisan white, or thick brioche to support the generous, heavy chicken filling without getting soggy during the cooking process.
- Taste the chicken mixture right before assembling your sandwiches so you can adjust salt levels accurately after considering the salt content of your specific rotisserie chicken.
When cooking meat or fish, a quick check with an instant-read thermometer takes the guesswork out of doneness; see the safe minimum internal temperatures chart for reference.
Variations
- Swap the red chili flakes for diced pickled jalapeños or a swirl of hot sauce if your family enjoys an extra punch of bright spicy flavor in their chicken melt.
- Replace the green onions with finely chopped fresh basil and add sun-dried tomatoes to the chicken filling for an inviting Italian-inspired twist on this comforting hot sandwich.
- Use a mix of sharp white cheddar and mozzarella to add a tangy, bold cheesy bite that pairs beautifully with the savory garlic and paprika seasoning blend.
- Add crispy cooked turkey bacon bits into the filling alongside the shredded chicken to introduce a wonderful smoky crunch that elevates the texture of every bite.
Serving Suggestions
Serve these rich, hearty garlic chicken melts hot off the skillet for a complete, satisfying meal. Pair them alongside a crisp green garden salad dressed with a light lemon vinaigrette to cut through the buttery, cheesy richness. A warm bowl of classic tomato soup or roasted red pepper soup makes an classic dipping companion on chilly days. For a casual lunch, serve with crispy oven-baked French fries, sweet potato wedges, or crunchy potato chips and tangy dill pickle spears on the side.
Storage and Reheating
Store any leftover cooked chicken filling in an airtight container in the refrigerator for up to 3 days. It is best to store the filling separately from the bread to prevent sogginess. To reheat leftover filling, warm it gently in a small skillet over low heat, adding a splash of heavy cream if needed to restore its creamy texture, then assemble and toast fresh sandwiches. If you have fully assembled leftover sandwiches, reheat them in a skillet over medium-low heat or in an air fryer at 350°F (175°C) for 3 to 5 minutes until crisp and warm. Freezing fully assembled melts is not recommended. For general guidance on how long cooked dishes keep, see these cold food storage charts.
Frequently Asked Questions
Can I use leftover home-cooked chicken breast instead of rotisserie chicken?
Yes, poached, baked, or roasted chicken breasts or thighs work wonderfully in this recipe. Simply shred or finely dice the cooked chicken meat before adding it to the onion and garlic mixture. Ensure the chicken is well-seasoned, as rotisserie chicken usually carries extra savory surface flavor.
What is the best type of bread to use for a chicken melt?
Thickly sliced sourdough, bakery-style white bread, sturdy artisan loaves, or Texas toast are ideal options. Sturdy breads hold up best against the generous, creamy chicken filling and form a deliciously crisp, golden-brown outer shell when buttered and pan-toasted over medium-low heat without becoming soggy.
How do I keep the bread from burning before the cheese melts?
Keep the heat setting at medium-low. Cooking lower and slower allows heat to penetrate the center of the sandwich, melting the mozzarella and warming the chicken fully. Covering the skillet with a lid for a minute or two also traps heat to speed up melting without scorching the bread.
Can I make the garlic chicken filling ahead of time?
Absolutely! You can prepare the creamy garlic chicken filling up to two days in advance. Store it covered in the refrigerator. When ready to serve, assemble the sandwiches directly with the chilled filling and toast as directed, extending the cooking time slightly so the interior heats through.
Why is my filling too runny or falling out of the sandwich?
The filling should be thick and creamy. If it seems too runny, you may have added too much cream; simmer it gently for an extra minute to thicken before assembling. Also, ensure you do not overfill the sandwiches and chop the chicken finely so it stays compact.
Final Thoughts
With its luscious garlic-cream filling, gooey mozzarella, and golden toasted crust, this garlic Parmesan chicken melt is guaranteed to become an instant favorite at your family table. It brings together all the comforting flavors of a classic melt while taking advantage of quick, convenience-friendly rotisserie chicken. Gather your ingredients, heat up your favorite skillet, and treat everyone to a warm, satisfying sandwich experience today. Enjoy every bite of this delicious homemade meal!
Printable Recipe: Garlic Parmesan Chicken Melt Recipe with Creamy Filling
Servings: 3 sandwiches | Prep: 15 min | Cook: 30 min | Total: 45 min
Ingredients
- 2 tbsp butter
- 1/2 cup yellow onion, finely chopped
- 1 tbsp fresh garlic, minced
- 2 cups rotisserie chicken, shredded
- Salt to taste
- 1 tsp garlic powder
- 1/2 tsp black pepper powder
- 1 tsp paprika powder
- 1 tsp red chili flakes
- 1/4 cup unsweetened heavy whipping cream
- 5 tbsp cream cheese
- 1/4 cup green onion, chopped
- 1/4 cup Parmesan cheese, freshly grated
- 1 tbsp parsley, chopped
- 6 slices bread of choice
- 1 1/2 cups mozzarella cheese, shredded
- Butter for toasting
Instructions
- Set a large skillet over medium heat, around 350°F (175°C), and melt 2 tablespoons of butter until it bubbles gently. Add the 1/2 cup of finely chopped yellow onion and cook for 4 to 5 minutes, stirring occasionally until soft and lightly golden. Stir in 1 tablespoon of minced fresh garlic and cook for just 30 seconds until fragrant, taking care not to burn the garlic.
- Add 2 cups of shredded rotisserie chicken directly into the skillet with the sautéed onions and garlic. Season the chicken evenly with 1 teaspoon of garlic powder, 1/2 teaspoon of black pepper powder, 1 teaspoon of paprika powder, and 1 teaspoon of red chili flakes. Stir well for about 2 minutes over medium heat until the aromatic seasonings thoroughly coat the warmed chicken.
- Reduce the stove heat to low, around 275°F (135°C). Add 5 tablespoons of softened cream cheese and 1/4 cup of unsweetened heavy whipping cream to the chicken. Stir continuously until the cheese completely melts and forms a smooth, rich coating. Fold in 1/4 cup of freshly grated Parmesan cheese. If the sauce feels overly thick, stir in extra heavy cream one teaspoon at a time.
- Stir 1/4 cup of chopped green onion and 1 tablespoon of fresh chopped parsley into the creamy chicken filling until evenly distributed. Taste the warm mixture carefully before adding salt, as rotisserie chicken and Parmesan cheese already contain natural saltiness. The final filling consistency should be thick, creamy, and rich rather than runny, ensuring it stays neatly inside the sandwich when toasted.
- Lightly butter the outside face of all 6 bread slices. Lay 3 slices buttered-side down on a clean work surface. Sprinkle a layer of shredded mozzarella cheese across each slice, follow with a generous, equal portion of the warm garlic chicken mixture, add another layer of mozzarella, and top with the remaining bread slices, buttered-side up, dividing the filling and cheese evenly among three sandwiches.
- Heat a clean skillet over medium-low heat, around 300°F (150°C). Place the assembled sandwiches in the pan and cook for 3 to 4 minutes per side until the bread is deeply golden, crispy, and the mozzarella cheese is thoroughly melted. Cover the skillet briefly with a lid during cooking if needed to assist center melting, then uncover for the final minute to keep the outer crust delightfully crisp.
- Transfer the freshly toasted garlic chicken melts onto a cutting board. Allow each sandwich to rest undisturbed for about one minute; this brief pause lets the hot, gooey mozzarella set slightly so the creamy chicken filling stays neatly intact when cut. Slice diagonally in half using a sharp serrated knife and serve immediately while piping hot.
Related recipes: Creamy Marry Me Turkey and Herb Stuffing Casserole Recipe, Easy Vegetable and Cheese Frittata: A Simple Family Breakfast, Cheesy Hamburger Potato Stacks with Savory Beef and Tomato, Cheesy Cauliflower Turkey Loaf: A Savory Family Dinner, Savory Potato Spinach Feta Loaf for Family Meals.
Learn more: Parmesan on Wikipedia · food storage & safety (FoodSafety.gov).
◆ ◆ ◆
← Back to Garlic Parmesan Chicken Melt Recipe with Creamy FillingGet new recipes
One tasty homemade recipe in your inbox each week. No spam, unsubscribe anytime.


Comments