Halloween Treats to Make
↓ Jump to Recipe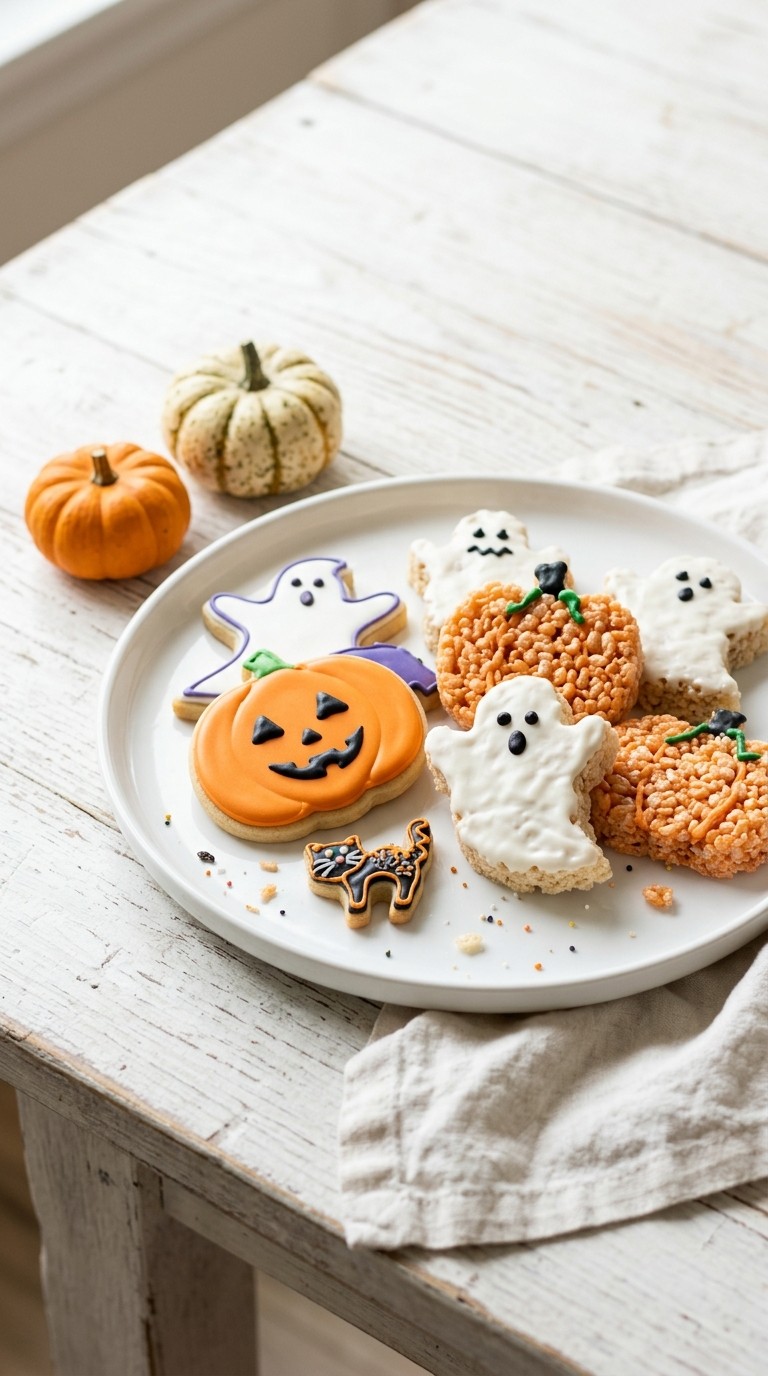
A quick, pantry‑based Halloween dessert that blends chocolate and orange flavor for a spooky, sweet bite in under 40 minutes.
When the night grows dark and pumpkins line the porch, a simple kitchen can become a laboratory of fun. This Halloween treat uses only ingredients you probably already have in your pantry, so you won’t need a special trip to the store. In about thirty‑five minutes you can create a batch of chocolate‑orange bites that look festive and taste comforting. The recipe is sized for four to six people, making it perfect for a small family gathering or a spooky snack for friends. Follow the clear steps, and you’ll have a treat that’s both tasty and easy to share.
Ingredients
- 1 cup (240 ml) all‑purpose flour
- 1/2 cup (115 g) granulated sugar
- 1/2 cup (115 g) brown sugar, packed
- 1/2 cup (115 g) unsalted butter, softened
- 1 large egg
- 1 teaspoon (5 ml) vanilla extract
- 1/2 teaspoon (2.5 g) baking soda
- 1/4 teaspoon (1 g) salt
- 1 cup (170 g) chocolate chips
- 1/2 cup (120 ml) milk
- 1/4 cup (30 g) cocoa powder
- Orange food coloring, a few drops
These bite‑size chocolate‑orange treats capture the spirit of Halloween while staying within the pantry staples most families already have. The combination of cocoa, a hint of orange color, and a crisp edge makes them instantly recognizable as festive treats.
They are quick to assemble, bake in under 20 minutes, and serve a crowd of four to six without any special equipment.
Essential Kitchen Tools
| Tool | Purpose |
|---|---|
| Mixing bowls | Separate dry and wet ingredients for even mixing |
| Whisk or electric mixer | Creme butter and sugars, incorporate air |
| Measuring cups & spoons | Accurate ingredient ratios |
| Baking sheet | Even heat distribution |
| Parchment paper | Prevents sticking and eases cleanup |
| Wire cooling rack | Allows cookies to set without steaming |
Why This Recipe Works
The success of this Halloween treat lies in the balance of texture and flavor. The combination of granulated and brown sugar creates a tender crumb while still allowing a slight crisp on the edges. Cocoa powder adds depth without overwhelming the orange hue, and the modest amount of baking soda provides just enough lift to keep the cookies light. Because the recipe uses common pantry items, there’s no need for specialty ingredients that could throw off the chemistry of the dough.
Pro Tips for Better Results
For a more vivid orange color, let the dough rest for five minutes after adding the food coloring; this allows the pigment to distribute evenly. If you prefer a chewier center, reduce the bake time by a minute and let the residual heat finish the cooking on the rack. Using room‑temperature butter makes creaming easier, but chilling the dough for 10 minutes before scooping can prevent excessive spread.
Nutrition Facts (per serving)
| Nutrient | Amount |
|---|---|
| Calories | 480 kcal |
| Total Fat | 22 g |
| Carbohydrates | 62 g |
| Protein | 5 g |
| Sugar | 38 g |
Halloween Treats to Make
A quick, pantry‑based Halloween dessert that blends chocolate and orange flavor for a spooky, sweet bite in under 40 minutes.
Ingredients
Instructions
- Preheat the oven to 350°F (175°C) and line a baking sheet with parchment paper ; a hot oven sets the cookie structure quickly, preventing spreading.
- In a large mixing bowl , whisk together flour, cocoa powder, baking soda, and salt; this dry blend ensures even distribution of leavening and cocoa flavor.
- In a separate bowl, cream butter with both sugars until light and fluffy, about 2 minutes; creaming incorporates air that helps the cookies rise slightly.
- Add the egg and vanilla extract to the butter mixture, beating just until combined; over‑mixing can develop gluten, making the cookies tough.
- Gradually pour the dry ingredients into the wet mixture, mixing on low speed until a cohesive dough forms; stop mixing once the flour disappears to keep the texture tender.
- Stir in the chocolate chips and a few drops of orange food coloring, folding just enough to color the dough without overworking it.
- Scoop tablespoon‑size balls onto the prepared sheet, spacing them 2 inches apart; this spacing allows the cookies to spread evenly without merging.
- Bake for 12‑14 minutes, or until the edges are set and the centers look slightly undercooked; residual heat will finish the cooking without drying them out.
- Cool on the baking sheet for 5 minutes, then transfer to a wire rack; cooling fully develops the flavor and prevents breakage.